Yerd Onboarding
The first time you open the Yerd desktop app on a fresh machine, it greets you with a short, guided onboarding journey instead of dropping you straight into the dashboard. It walks you through the handful of one-time steps that turn a clean install into a working .test environment: starting the daemon, installing a PHP version, pointing Yerd at your projects, and granting the OS privileges for HTTPS and ports 80/443.
It's entirely optional past the first step - you can skip ahead and do any of it later from the relevant pages - but following it end to end gets you from install to serving sites in a couple of minutes.
GUI-only
The journey is part of the desktop app. If you live in the terminal, there's no separate wizard - you do the same things with yerd install php, yerd park, and sudo yerd elevate. See Getting Started for the CLI path.
When it appears
Yerd decides what to show based on whether it has ever been set up on this machine:
| State | What you see |
|---|---|
Never set up (fresh install, or after yerd uninstall) | The onboarding journey |
| Set up before, but the daemon is stopped | The normal "Yerd isn't running" screen with a Start Yerd button |
| Set up and running | The normal app |
"Set up" means any of: a Yerd config file exists, a PHP version is installed, or the daemon's background service is registered. Because a full yerd uninstall removes those, the journey returns if you ever start over from scratch.
Step 1 - Install the daemon
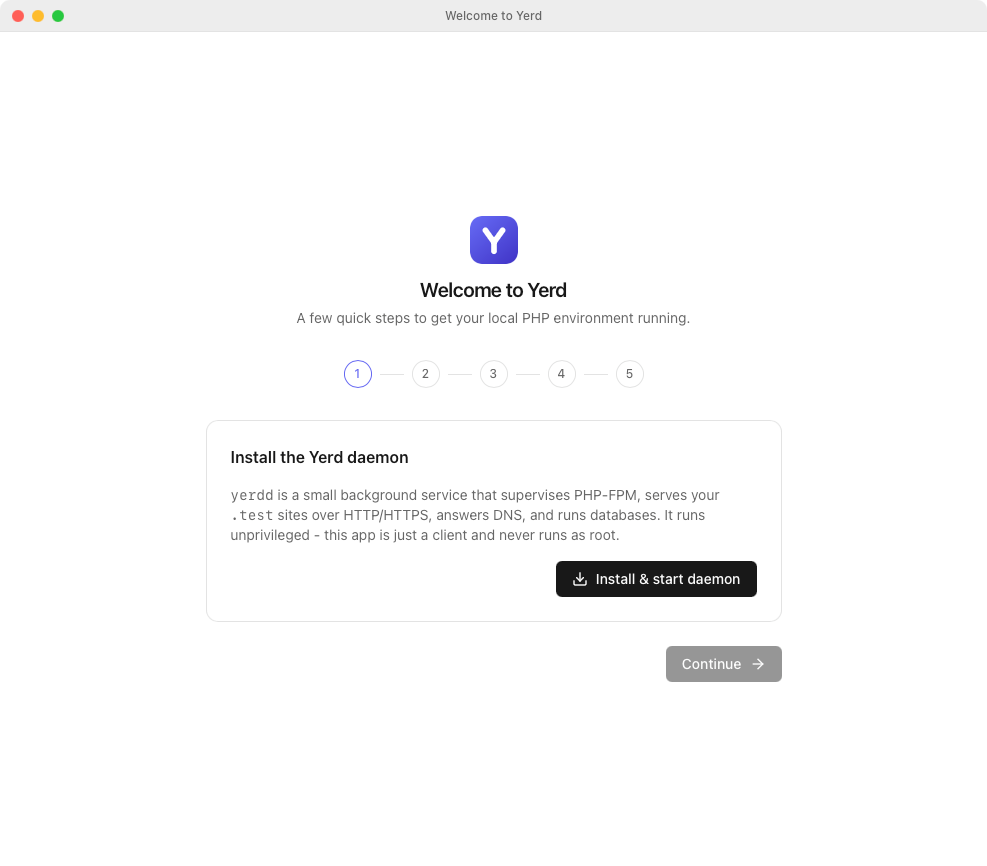
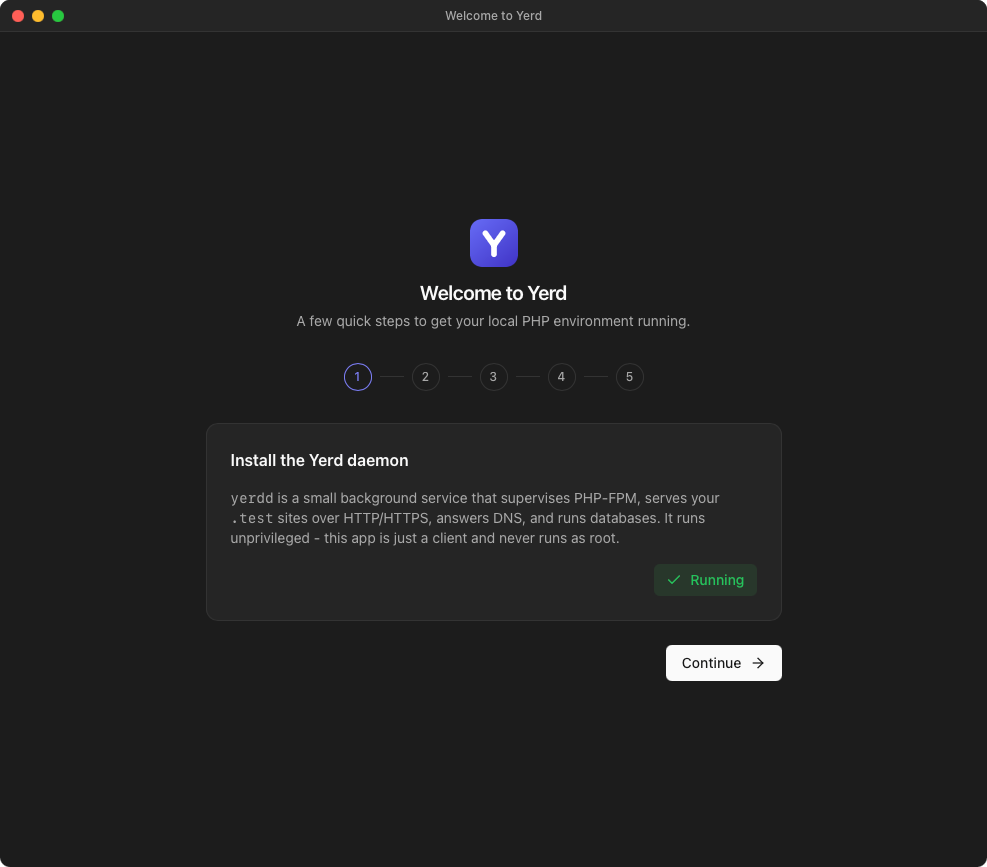
The journey opens by introducing yerdd, the small background service that does all the real work - it supervises PHP-FPM, serves your .test sites over HTTP/HTTPS, answers DNS, and runs databases. The app is just a client of it and never runs as root.
Click Install & start daemon. The button keeps spinning until the daemon actually connects, then turns into a green Running badge and Continue unlocks. This is the one required step - everything after it is skippable.
Installing the daemon here also sets some sensible login defaults: the daemon and the app both start at login, with the app started minimized to the tray. You can change all three under Settings → Start at login at any time.
macOS background approval
On macOS the daemon registers as a background SMAppService login item (it shows as "Yerd" in System Settings → Login Items). If macOS asks you to approve it first, the step shows an Open Login Items button to take you there; once approved it connects automatically.
Step 2 - Install a PHP version
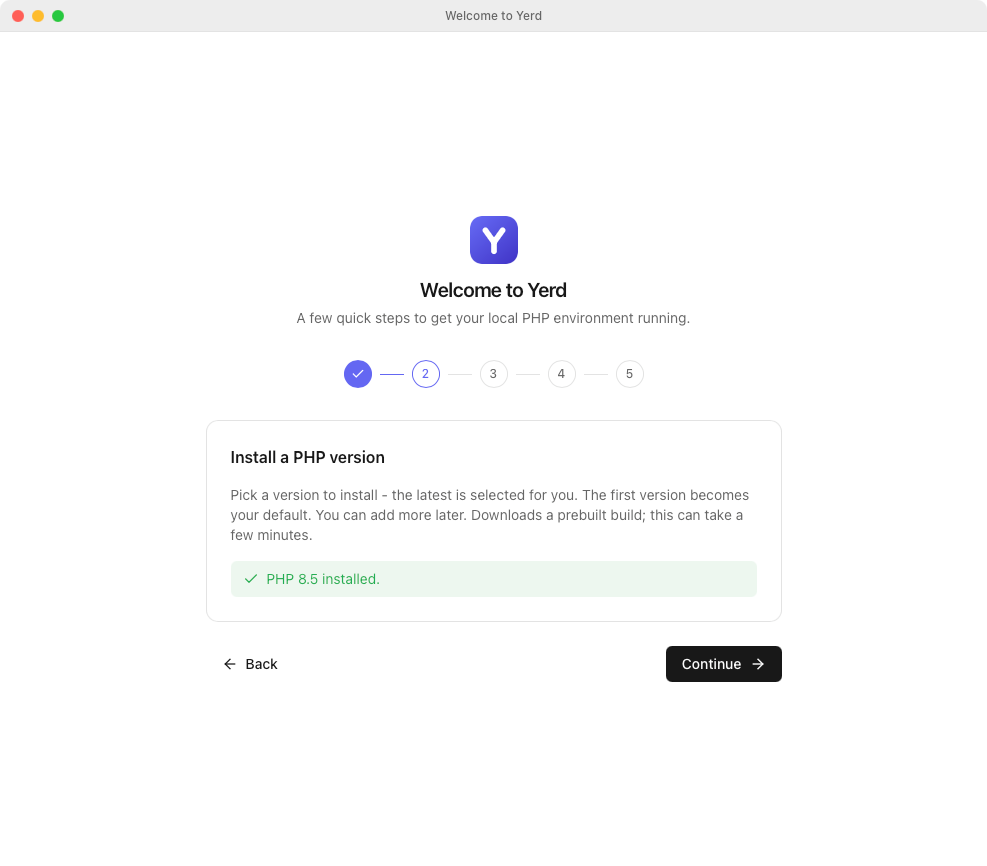
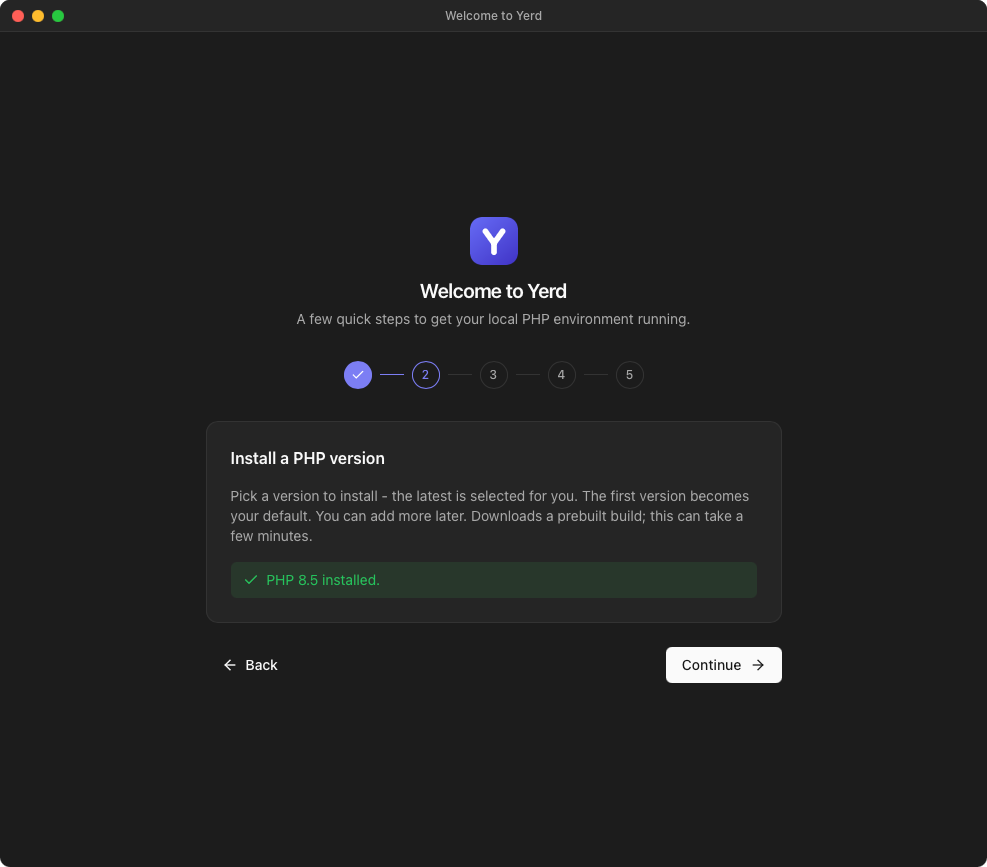
Pick a PHP version to install - the latest is selected for you, and the first version you install automatically becomes your default. It downloads a prebuilt, self-contained build (this can take a minute or two with no progress bar). You can add or change versions any time later on the PHP page.
Not ready? Click Skip for now and install one later.
Step 3 - Park a projects folder
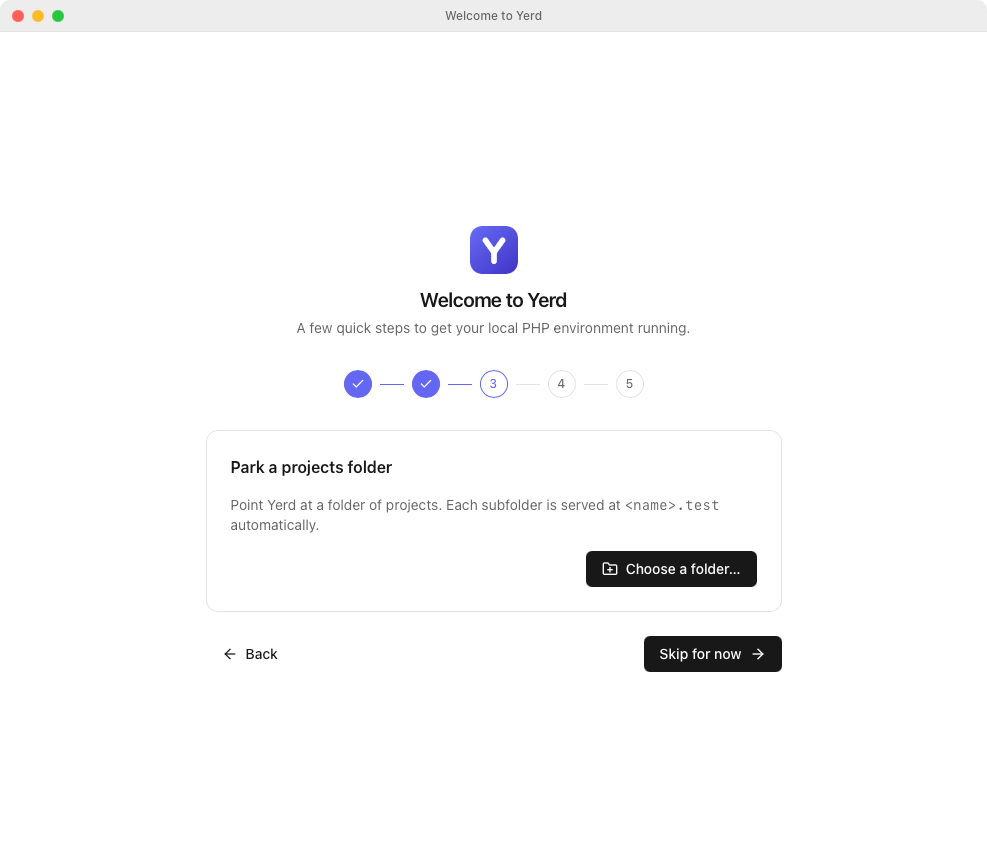
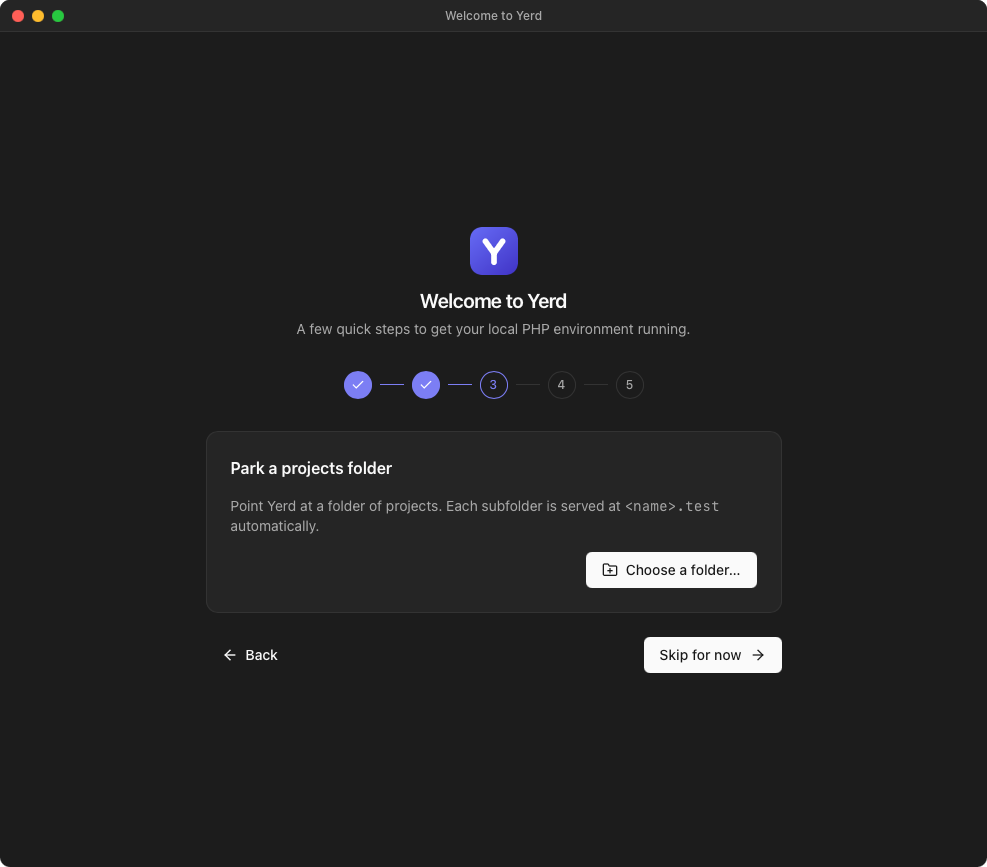
Point Yerd at a folder of projects and every subfolder is served automatically at <name>.test. Click Choose a folder…, pick your ~/Sites (or wherever your projects live), and you're done. This is the fastest way to get many sites at once; you can also link individual projects later. See Sites for the difference between parking and linking.
Skippable - park a folder whenever you're ready.
Step 4 - Trust & system access
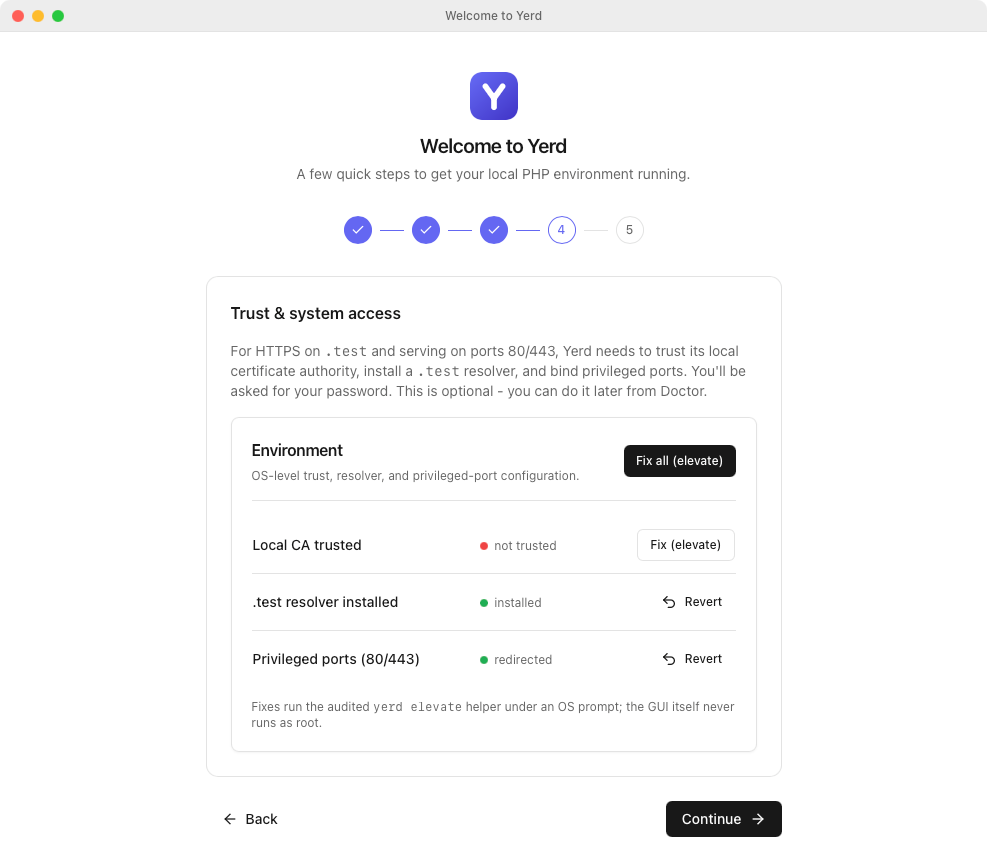
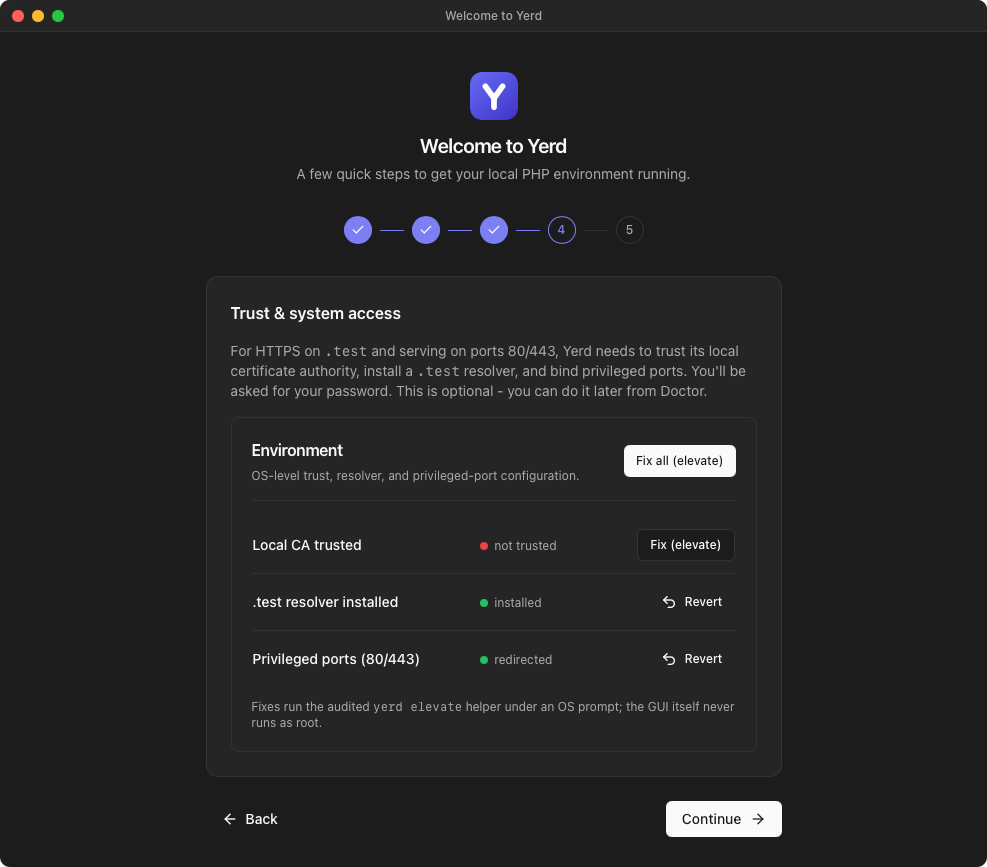
For HTTPS on .test and serving on the standard ports 80/443, Yerd needs three OS-level privileges:
- Trust the local CA so browsers accept your
.testHTTPS certificates without warnings. - Install the
.testresolver so*.testnames resolve to Yerd. - Bind privileged ports 80/443 (otherwise Yerd falls back to
8080/8443).
Use Fix all to grant them in one go - you'll be asked for your password by the OS. This step is optional; you can do it later from the Doctor page, and Yerd works on high ports until you do. For exactly what runs and why it's safe, see Elevation & Privileges.
Reverting later
Anything you grant here is reversible from Doctor (or sudo yerd unelevate). The CA trust is set for your user without root where possible. See Elevation for details.
Step 5 - You're all set
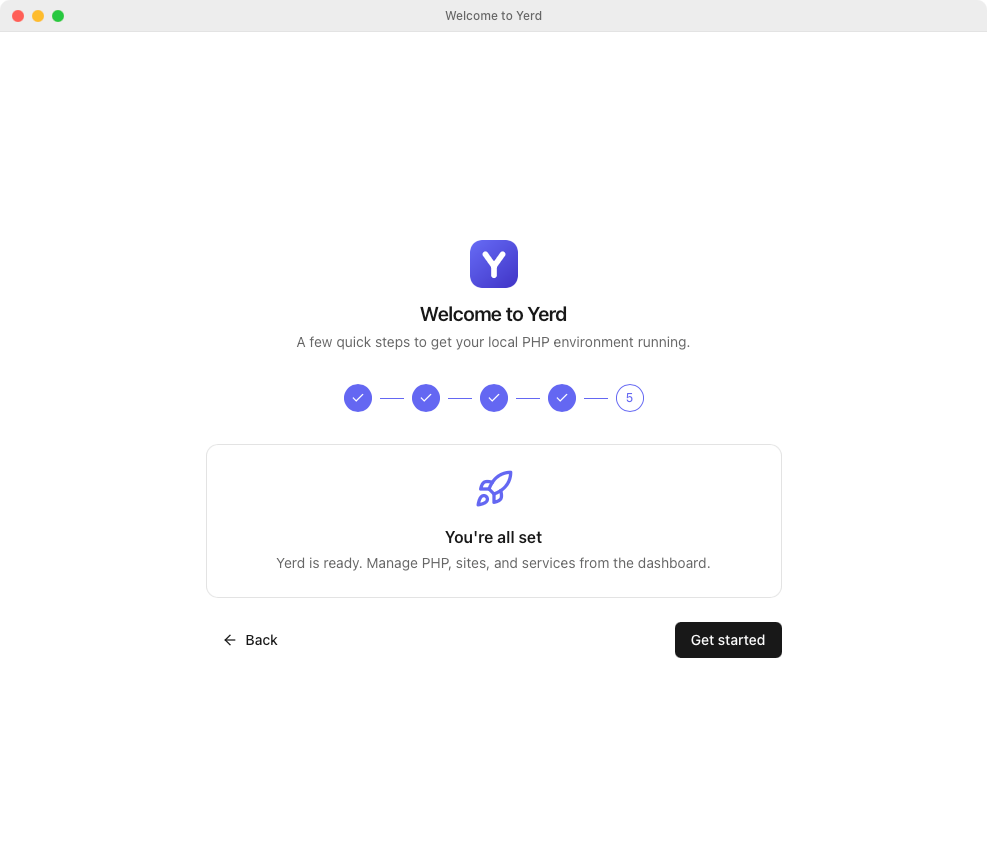
That's it. Click Get started and Yerd marks setup complete and drops you on the Overview dashboard. The journey won't show again on this machine - next time the app opens straight into the dashboard (or the Start Yerd screen if the daemon happens to be stopped).
Skipping and coming back
Every step except the daemon install has a Skip for now, and you can move Back at any point. Nothing you skip is lost - it just lives on its normal page:
- PHP versions → the PHP page
- Parking / linking sites → the Sites page
- Trust, resolver, and ports → the Doctor page / Elevation
If you want to see the journey again, run yerd uninstall to reset to a clean state, then reopen the app.