Getting Started
This guide takes you from a clean machine to your first site live at https://my-app.test - installed, served, and on the PHP version it needs.
Yerd runs entirely as your user. sudo shows up in exactly two non-ongoing places: installing the system .deb (standard for any package), and a single, optional, one-time setup step. Day-to-day use never touches root.
Release status — Release Candidate
Yerd is currently shipping Release Candidate builds, available from the releases page. We're tracking a stable v2.0.2 release on 8 July 2026. The RCs are ready for everyday use — if you hit anything, please report a bug on GitHub.
Coming from Herd, Valet, or Lerd?
Already running another local PHP environment? They claim the same OS hooks Yerd needs - ports 80/443, the *.test resolver, and a trusted local CA - so they can't both own them at once. Stop the other tool first, then follow Switching to Yerd for a clean, step-by-step migration (including exactly how to switch back).
Supported platforms
Yerd ships a single desktop app for macOS (Apple Silicon) and Linux (Debian/Ubuntu .deb for x86-64 and arm64, plus an Arch .pkg.tar.zst for x86-64). The daemon, the yerd CLI, and the privileged helper are all bundled inside it — there is nothing else to install. PHP itself is not bundled - Yerd downloads prebuilt static PHP builds on demand when you run yerd install php, so the install stays tiny and fast.
Apple Intel not supported
Intel (x86-64) Macs are not supported at this time. macOS builds target Apple Silicon (arm64) only.
Install
Yerd is a single desktop app - the daemon, the yerd CLI, and the privileged helper are all embedded in it (nothing is downloaded at runtime). Grab the latest Release Candidate build from the releases page (stable v2.0.2 is tracked for 8 July 2026):
| Platform | Download | Install |
|---|---|---|
| macOS (Apple Silicon) | Yerd_MacOS_AppleSilicon_v<ver>.dmg | open, drag Yerd to Applications |
| Linux · Debian/Ubuntu (x86-64) | Yerd_Linux_x86_64_v<ver>.deb | sudo apt install ./Yerd_Linux_x86_64_v<ver>.deb |
| Linux · Debian/Ubuntu (arm64) | Yerd_Linux_Arm64_v<ver>.deb | sudo apt install ./Yerd_Linux_Arm64_v<ver>.deb |
| Linux · Arch (x86-64) | Yerd_Linux_x86_64_v<ver>.pkg.tar.zst | sudo pacman -U ./Yerd_Linux_x86_64_v<ver>.pkg.tar.zst |
Arch Linux
Remove any leftover /usr/bin/yerd from the old v1 (Go) project first — pacman won't install over a file it doesn't own — and pacman -Syu before installing so the bundled GUI's WebKit/GTK libraries match your system.
On first launch the app greets you with a short onboarding journey that starts the bundled daemon, installs a PHP version, parks your projects, and runs a one-time elevation (trust the local CA, route *.test, bind ports 80/443) - everything after that runs as your user, never as root. On macOS that makes setup essentially drag-and-drop: drag Yerd to Applications, launch it, and follow the steps.
How the daemon binds 80/443
On Linux the package's post-install (the .deb postinst / the Arch .install scriptlet) grants yerdd the cap_net_bind_service capability (via setcap) so the unprivileged daemon can bind ports 80/443, and re-applies it on every upgrade. On macOS the one-time elevate installs a pf redirect. If neither is in place, Yerd falls back to 8080/8443 automatically - and yerd doctor tells you.
Terminal CLI
The yerd command comes with the app:
- Linux: the
.deb/.pkg.tar.zstputsyerdon yourPATHautomatically. - macOS: open Settings → Terminal CLI and click Install - it links the bundled
yerdonto yourPATH(viayerd path).
From source
Build and run the app directly:
git clone https://github.com/forjedio/yerd
cd yerd/apps/yerd-gui
npm install
npm run tauri dev      # run the app (start `cargo run -p yerdd` first), or
npm run tauri build    # build the bundle
See Building from Source for toolchain requirements and how the release bundle embeds the three binaries.
Start the daemon
yerdd is the per-user daemon that owns all runtime state - the reverse proxy, the embedded DNS responder, and the PHP-FPM pools. Nothing works until it's running, and it always runs as you, never root.
With the desktop app (the normal path): the app starts the daemon for you on first launch. On macOS it registers it as a background SMAppService login item (shown as "Yerd" in System Settings → Login Items); on Linux it writes a systemd --user unit and starts it. Manage it from Settings → "Run the Yerd daemon in the background".
From a terminal - run the daemon directly. With no privileged ports configured it binds 8080/8443 out of the box:
yerdd serve &On Linux, once the app has written ~/.config/systemd/user/yerd.service, you can also manage it with systemctl --user enable --now yerd.
yerdd serve takes a couple of optional flags:
| Flag | Effect |
|---|---|
-v, -vv | Increase log verbosity (-v → debug, -vv → trace) |
-c, --config <path> | Override the config file location |
Confirm it's alive
yerd ping checks the daemon is reachable over its per-user socket - a quick way to confirm the daemon came up before going further.
One-time setup (optional but recommended)
For the full experience - browser *.test resolution and trusted HTTPS - run the one privileged step. It's the only command that uses root, and each piece is independent and named:
sudo yerd elevate                       # all three, in order
# …or pick pieces:
sudo yerd elevate trust                 # trust the local CA in the system store
sudo yerd elevate resolver              # route *.test → yerd's DNS responder
sudo yerd elevate ports                 # allow the daemon to bind 80/443
sudo yerd elevate with no argument runs trust → resolver → ports in that order. Under the hood the CLI only orchestrates as root: it reads facts from your running daemon, then hands each privileged operation to the audited yerd-helper one-shot binary. After this, yerd never touches root again.
The three pieces differ a little by OS:
- trust - adds Yerd's local CA to the system trust store, so every secured
.testsite gets a green padlock. - resolver - routes
*.testlookups to Yerd's embedded responder. On Linux withoutsystemd-resolvedthis step is skipped, and Yerd tells you to point/etc/resolv.confat its DNS address manually. - ports - on Linux grants
cap_net_bind_servicetoyerdd(you'll be prompted to restart the daemon for 80/443 to take effect; note that package upgrades resetsetcap, so re-runelevate portsafterwards). On macOS it installs apfredirect80 → 8080,443 → 8443, which goes live immediately with no daemon restart.
Start the daemon first
elevate reads configuration from your running daemon (the DNS address, TLD, and CA path). If the daemon isn't up, it'll tell you to start it and re-run.
To reverse any of this later, use sudo yerd unelevate [trust|resolver|ports]. On Linux the setcap grant can't be cleanly dropped, so unelevate ports prints the manual setcap -r command rather than running it. See the Elevation & Privileges guide for the full model.
Skipping elevation entirely
You can run completely rootless and just drive sites on http://127.0.0.1:8080 with a Host: header. Elevation only buys you browser-native .test names and a trusted CA. See DNS & .test Domains and HTTPS & Certificates.
Serve your first site
Yerd serves sites two ways. Park a directory and every child folder becomes a site; or link a single project under a name you choose.
# Park a directory - every sub-folder becomes <folder>.test
yerd park ~/Sites
#   ~/Sites/blog  ->  http://blog.test

# …or link a single project under a name you choose
yerd link my-app ~/code/my-app
#   ->  http://my-app.test
List everything Yerd knows about:
yerd sites                 # name, kind, PHP version, HTTPS, doc-root
yerd list parked           # the registered parked roots (incl. empty ones)
To stop serving, yerd unlink <name> removes a linked site, and yerd unpark <dir> un-parks a directory (linked sites are untouched). See Sites for the full lifecycle.
Enable HTTPS
Turn HTTPS on for any site - Yerd issues a per-site certificate from its local CA on demand:
yerd secure my-app
#   ->  https://my-app.test  (trusted, once the CA is trusted)
yerd unsecure my-app        # back to HTTP only
Green padlock
The certificate is only trusted by your browser after sudo yerd elevate trust (above) has added the CA to your system store. Without it the site is still served over HTTPS - your browser just warns about the unknown issuer. Details in HTTPS & Certificates.
Choose a PHP version
Install one or more PHP versions (downloaded as prebuilt static builds), then point sites at them. Set a global default with one argument, or pin a single site with two:
yerd install php 8.5        # download + install PHP 8.5
yerd use 8.5                # set the global default version
yerd use my-app 8.3         # pin this one site to 8.3
Manage installed versions:
yerd list php               # installed versions + the global default
yerd list php --check       # also refresh "update available" status (network)
yerd list php --available   # versions installable from the distribution
yerd update php             # update every installed version
yerd update php 8.3         # …or just one
yerd uninstall php 8.3      # remove a version (blocked if a site uses it)
yerd restart php 8.5        # restart a pool (omit version = all running pools)
You can also set global PHP ini defaults that apply to every installed version:
yerd set php memory_limit 512M
yerd unset php memory_limit       # reset to PHP's built-in value
Notify-only updates
Yerd never installs PHP updates behind your back. yerd list php annotates when a newer patch exists; you decide when to run yerd update php.
More in PHP Versions.
Check health
Yerd is self-diagnosing. Use these any time something looks off:
yerd status        # snapshot: daemon, ports, DNS, CA trust, PHP pools (PID/RAM), load
yerd doctor        # diagnose common problems
yerd doctor fix    # attempt the safe, unprivileged repairs (e.g. restart a crashed pool)
JSON everywhere
Add --json to any command for machine-readable output - handy for scripts or editor integrations.
Putting it all together
With the desktop app, the install, daemon start, and one-time elevate all happen for you on first launch - drag Yerd to Applications (macOS), open it, and you land ready to add a site. The terminal path, start to finish:
# Install the app (.dmg on macOS, .deb/.pkg.tar.zst on Linux) from the releases page. The app
# starts the daemon for you; to run it from a terminal instead:
yerdd serve & # start the bundled daemon directly
sudo yerd elevate # one-time: trust CA, resolver, ports
# PHP + a site
yerd install php 8.5
yerd use 8.5
yerd link my-app ~/code/my-app
yerd secure my-app
# verify
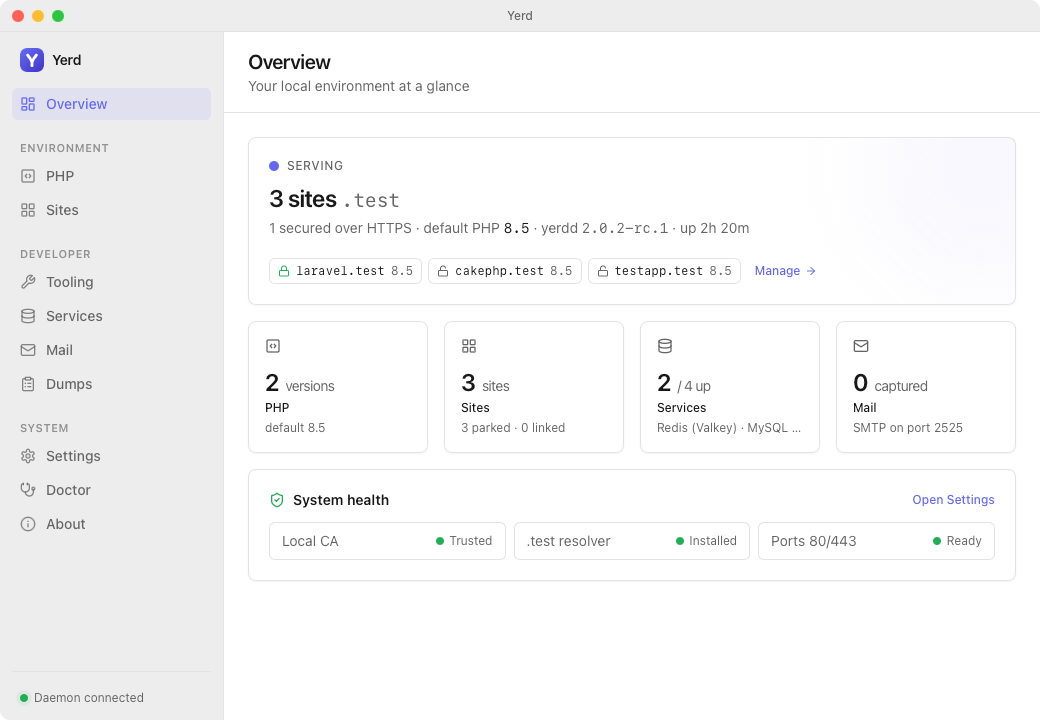
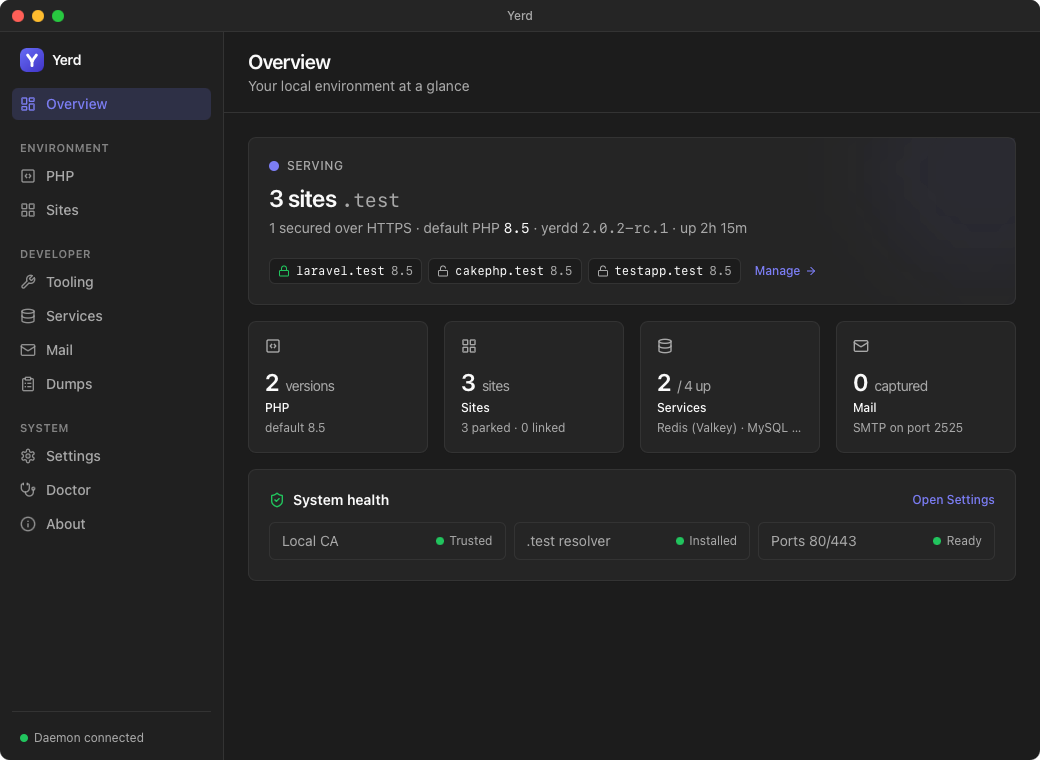
yerd statusOpen https://my-app.test in your browser - that's it.
Uninstall
To remove yerd completely, run the bare uninstall command (no subcommand). It prompts for confirmation, then tears down the daemon, the PATH entry, all config/data/downloads, and the binaries:
sudo yerd uninstall      # recommended - also reverts the one-time elevate changes
yerd uninstall           # without root - removes everything except the elevate changes
Run it with sudo so it can also reverse the elevate system changes (the CA in your trust store, the *.test resolver, and the macOS port redirect). Those need root to undo, and they can't be undone once the binaries are gone - so without sudo, yerd warns you and prints the exact manual commands to clean them up later. Add --yes to skip the prompt in scripts. A .deb install is removed the usual way (sudo apt purge yerd); the macOS app is dragged to the Trash. Full details in the Uninstall reference.
Where to next
- Sites - parking, linking, and per-site settings in depth.
- PHP Versions - pools, ini defaults, and updates.
- HTTPS & Certificates and DNS & .test Domains.
- The Daemon and Elevation & Privileges.
- CLI Reference and Configuration Reference for the full surface.